Table of Content
- What is Hands-Only CPR?
- Assessing the Situation
- Placing Your Hands
- Performing Chest Compressions
- Monitoring the Victim:
- Hands-Only CPR Demonstration:
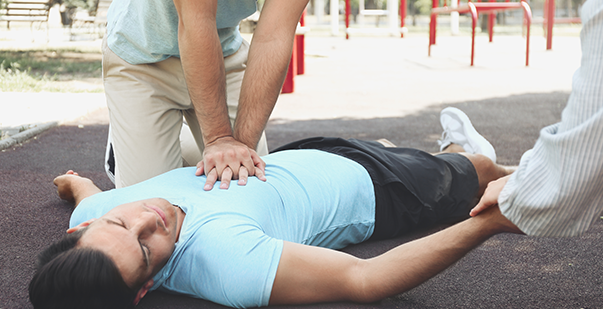
Hands-only CPR, also known as compression-only CPR, is a simplified technique for performing cardiopulmonary resuscitation (CPR) without rescue breaths. It involves delivering continuous chest compressions to circulate oxygen-rich blood throughout the body during sudden cardiac arrest. Hands-only CPR is a critical skill that anyone can learn and apply in emergency situations. By focusing solely on chest compressions, bystanders can initiate immediate life-saving measures while waiting for professional medical assistance to arrive.
Statistics show that nearly 70% of cardiac arrests occur outside of hospitals, often in homes or public settings. Unfortunately, only about 46% of people who experience cardiac arrest receive immediate assistance before medical help arrives. Hands-only CPR can double or triple a person’s chance of survival, making it a crucial intervention in cardiac emergencies.
In this blog, we’ll explore the steps involved in performing hands-only CPR and discuss its importance in saving lives.
What is Hands-Only CPR?
Hands-only CPR, also known as compression-only CPR, is a simplified form of cardiopulmonary resuscitation (CPR) that focuses solely on chest compressions without rescue breaths. It offers several advantages over traditional CPR, particularly for bystanders and individuals without formal CPR training.
What are the Benefits of Hands-Only CPR?
- Simplified Technique: Hands-only CPR eliminates the need for rescue breaths, making it easier to learn and perform correctly in emergency situations.
- Increased Confidence: Bystanders may feel more confident initiating CPR when they only need to perform chest compressions, reducing hesitation and improving response times.
- Reduced Risk of Transmission: By avoiding mouth-to-mouth contact, hands-only CPR lowers the risk of transmitting infections or diseases between the rescuer and the victim.
When to Use Hands-Only CPR:
Hands-only CPR is recommended in cases where bystanders witness a sudden cardiac arrest in adults. It should be performed immediately after calling for emergency medical assistance (911 or local emergency number). The American Heart Association (AHA) advises that hands-only CPR be initiated if the victim is unresponsive and not breathing normally.
By promptly starting hands-only CPR and delivering uninterrupted chest compressions at a rate of 100 to 120 compressions per minute, bystanders can effectively circulate oxygenated blood to vital organs until professional medical help arrives. Hands-only CPR can significantly increase the chances of survival for individuals experiencing sudden cardiac arrest, emphasizing the importance of widespread CPR education and training.
Here are steps for Performing Hands-Only CPR
Assessing the Situation:
Before initiating CPR, it’s crucial to assess the scene for safety to ensure the well-being of both the rescuer and the victim. Here are the key steps to follow when assessing the situation:
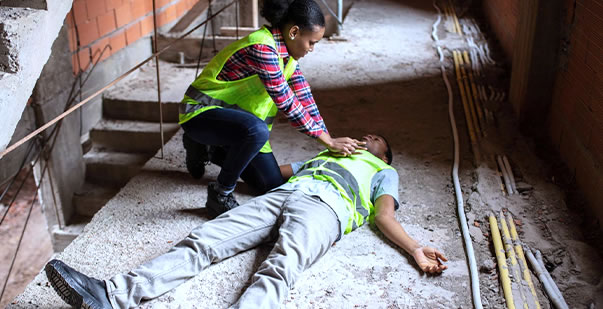
- Ensure Scene Safety: Before approaching the victim, survey the area for any potential hazards or dangers, such as traffic, fire, or electrical hazards. If the scene is unsafe, wait for professional medical assistance to arrive before attempting to provide aid.
- Check for Responsiveness: Approach the victim cautiously and gently shake their shoulders while asking loudly, “Are you okay?” Look for any signs of responsiveness, such as movement, groaning, or vocalization. If the victim is unresponsive, proceed to the next step.
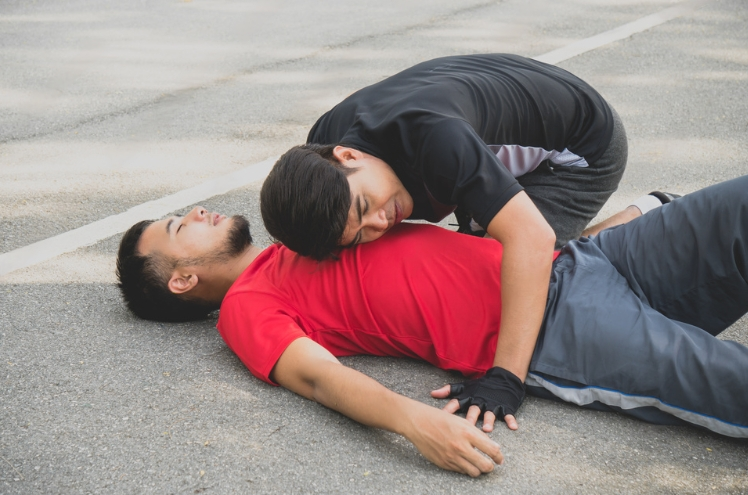
- Assess Breathing: Place your ear near the victim’s mouth and nose while looking at their chest for any signs of breathing. Listen and feel for air movement and observe for chest rise and fall. If the victim is not breathing normally or showing any signs of life, it’s essential to act quickly.
- Call for Emergency Medical Assistance: If the victim is unresponsive and not breathing normally, immediately call for emergency medical assistance by dialing 911 or your local emergency number. Provide the dispatcher with vital information about the victim’s condition, location, and any other relevant details.
By following these steps to assess the situation quickly and effectively, you can ensure the appropriate response to a medical emergency and initiate lifesaving interventions promptly. Remember that early intervention and timely CPR can significantly improve the chances of survival for individuals experiencing cardiac arrest.
Read More: 7 steps of adult CPR you should know
Placing Your Hands:
- Hand Positioning:
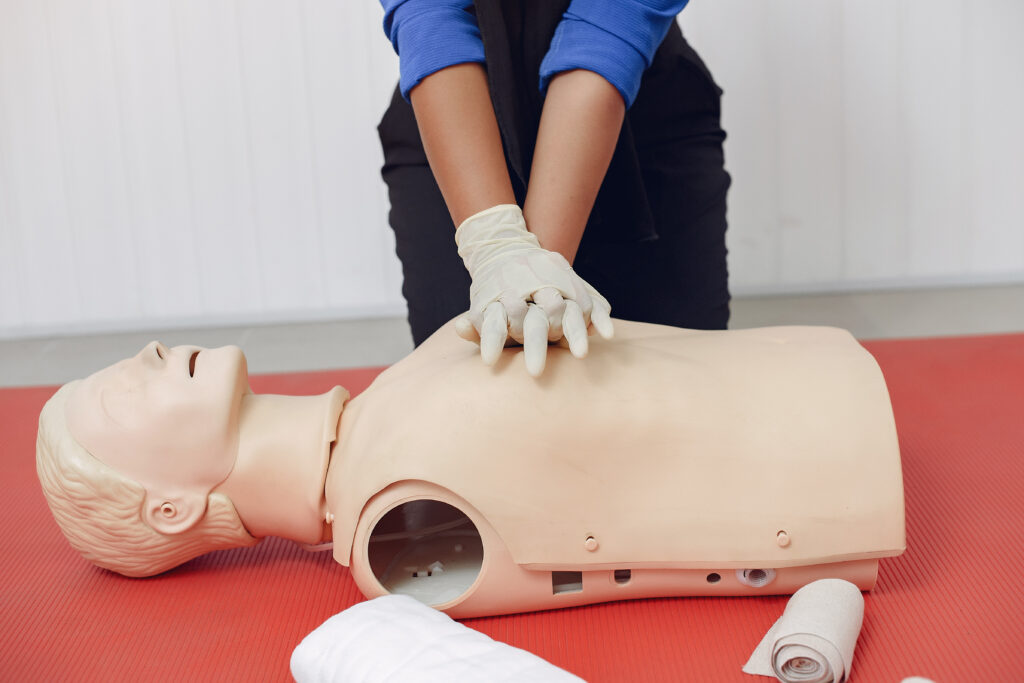
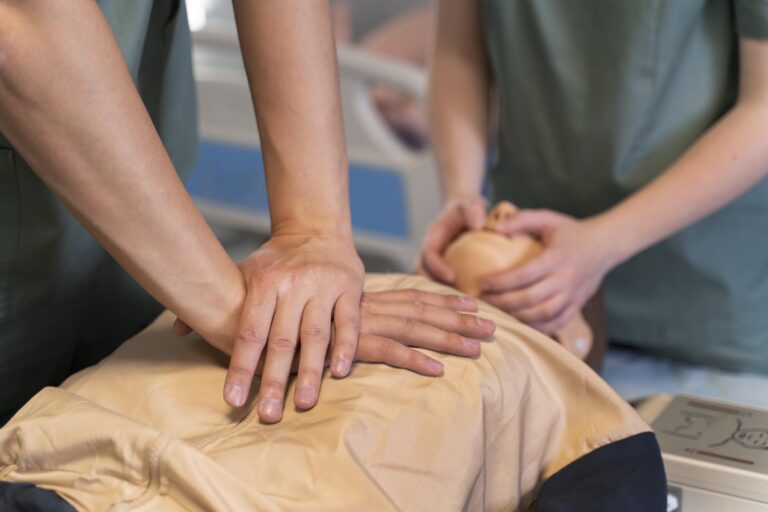
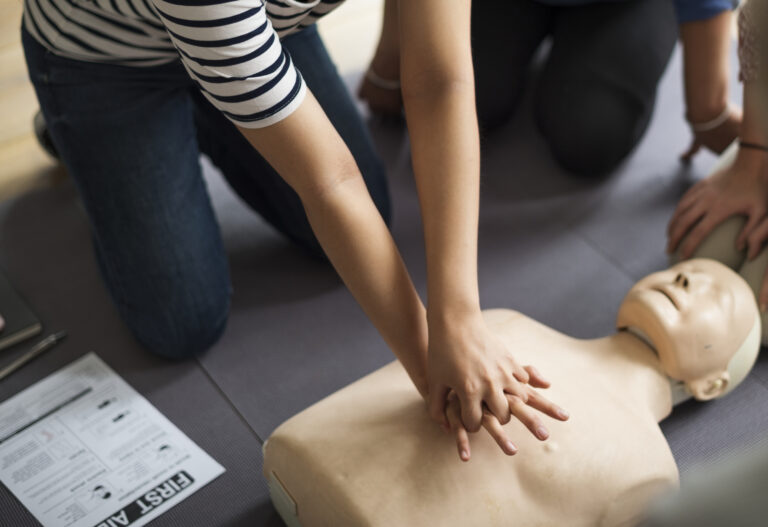
- Center your hands on the victim’s chest, between the nipples.
- Interlace your fingers and ensure that your palms are off the chest to allow for effective compression.
- Proper Hand Placement:
- Keep your arms straight and position your shoulders directly above your hands.
- Press down firmly on the chest, compressing it by at least 2 inches (5 centimeters) for adults.
- Allow the chest to fully recoil between compressions to maximize blood flow.
- Maintaining Body Position:
- Maintain a stable and balanced stance with your feet shoulder-width apart.
- Use your upper body weight to generate the force needed for compressions, rather than relying solely on arm strength.
- Avoid leaning on the victim’s chest between compressions to ensure adequate chest recoil and blood circulation.
Proper hand placement and body positioning are critical for delivering effective chest compressions during hands-only CPR. By following these guidelines, rescuers can optimize the quality of compressions and increase the likelihood of a successful outcome for the victim of sudden cardiac arrest.
Performing Chest Compressions:
- Compression Depth and Rate:
- Aim to compress the chest at least 2 inches (5 centimeters) for adults and children.
- Maintain a compression rate of 100 to 120 compressions per minute, which equates to roughly 2 compressions per second.
- Compression Technique:
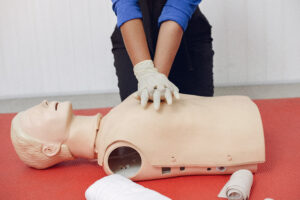
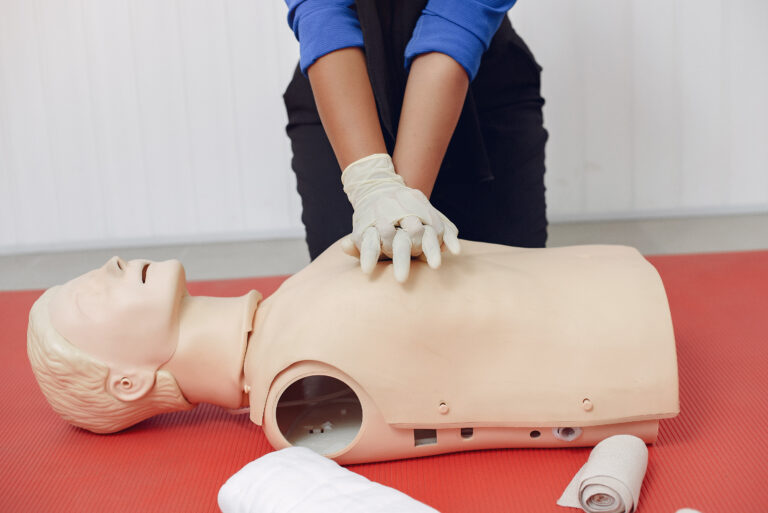
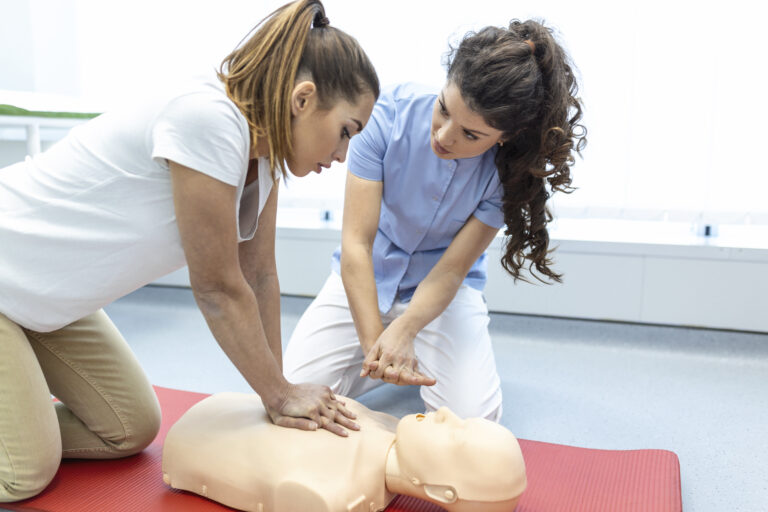
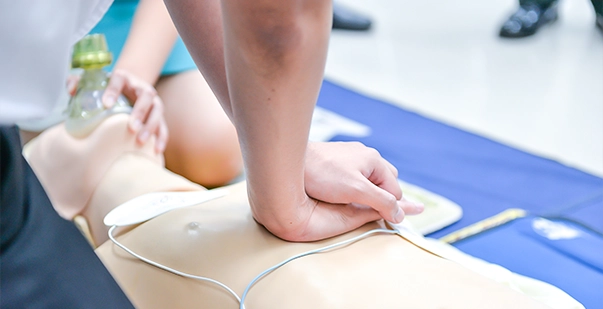
- Place the heel of one hand on the center of the victim’s chest, with the other hand on top.
- Lock your elbows and position your shoulders directly above your hands.
- Push down firmly and quickly on the chest, allowing it to recoil fully between compressions.
- Ensure that each compression is smooth and uninterrupted, with minimal pauses between compressions.
- Rhythm and Timing:
- Maintain a steady rhythm while performing chest compressions, counting aloud or using a metronome if available.
- Coordinate your compressions with the beat of the “Stayin’ Alive” song by the Bee Gees, which has the ideal rhythm for CPR.
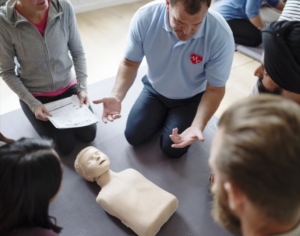
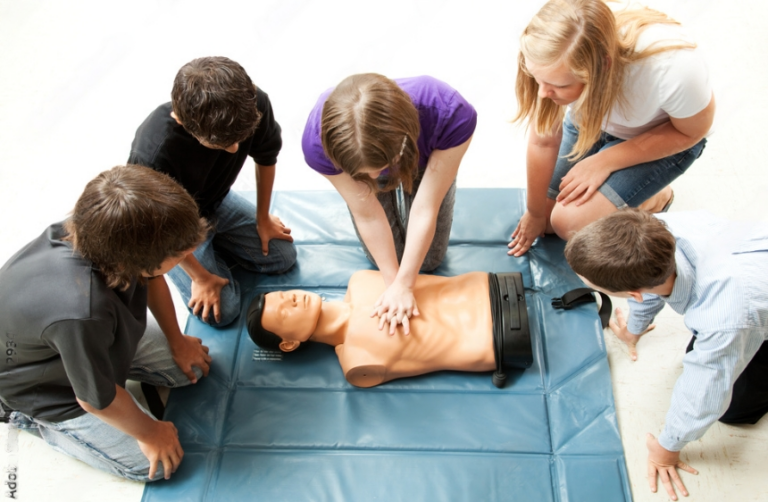
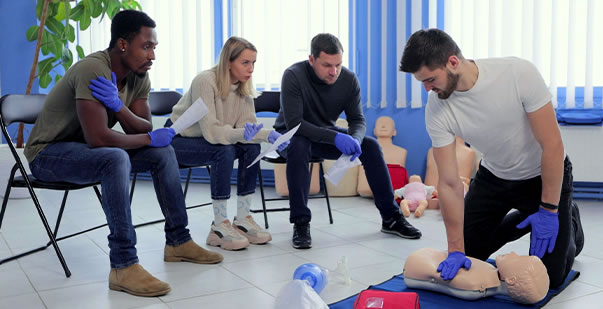
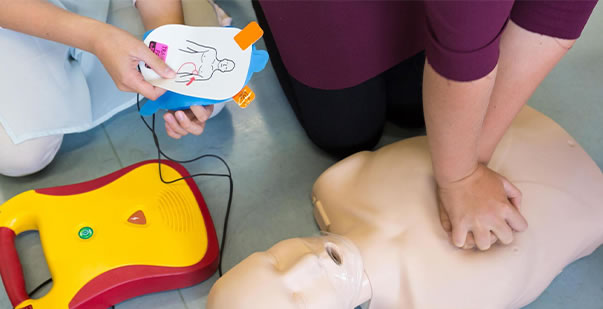
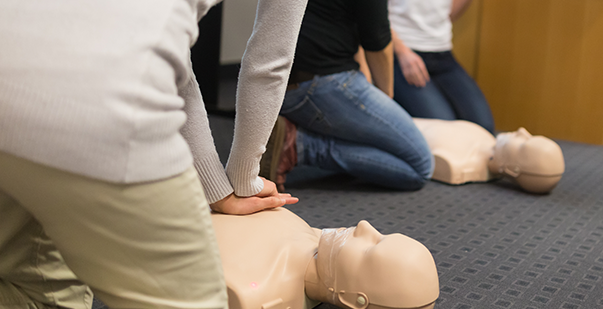
Demonstration of the hands-only CPR technique should include proper hand placement, compression depth, and rate. Practicing on a mannequin or CPR training device can help reinforce these skills and improve confidence in performing hands-only CPR during a real-life emergency.
Read More: CPR Success Rate: How Effective is CPR?
Monitoring the Victim:
Continuous monitoring of the victim’s responsiveness and breathing is crucial during hands-only CPR. By staying vigilant, rescuers can assess the effectiveness of their efforts and adapt as needed. Signs to watch for include changes in the victim’s color, movement, or breathing pattern.
- Importance of Continuous Monitoring: Monitoring allows rescuers to assess the victim’s condition and make informed decisions about ongoing care.
- Signs of Improvement or Deterioration: Rescuers should look for signs of improvement, such as increased responsiveness or spontaneous breathing. Conversely, signs of deterioration, such as worsening color or loss of responsiveness, may indicate the need for additional intervention.
- Knowing When to Stop Compressions: If the victim begins to regain consciousness and exhibit normal breathing, rescuers should stop chest compressions while continuing to monitor the victim closely.
Hands-Only CPR Demonstration:
Visual demonstrations or video tutorials of hands-only CPR provide valuable guidance for rescuers. These resources offer a step-by-step walkthrough of the hands-only CPR technique, ensuring that rescuers understand the process and can perform it effectively.
- Importance of Visual Demonstrations: Visual aids enhance understanding and retention of hands-only CPR techniques, making them valuable tools for training and education.
- Step-by-Step Walkthrough: Demonstrations should break down the hands-only CPR process into clear, actionable steps, emphasizing proper hand placement, compression depth, and rate.
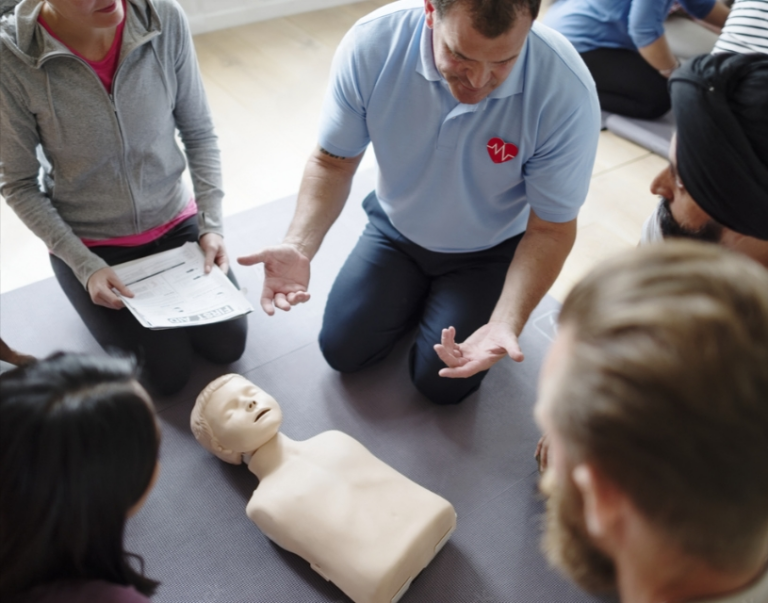
- Practice Opportunities: Encouraging readers to practice hands-only CPR on a manikin or CPR training device reinforces learning and builds confidence in their ability to respond effectively in an emergency.
Conclusion
Learning the technique of hands-only CPR can significantly increase the chances of survival for individuals experiencing sudden cardiac arrest. By following the simple steps outlined in this guide, bystanders can take immediate action to provide vital chest compressions until professional help arrives. Remember, the key to successful hands-only CPR is swift and decisive action in assessing the situation, placing your hands correctly, and performing consistent chest compressions. With practice and preparation, anyone can become proficient in hands-only CPR and play a crucial role in saving lives within their communities. Let’s all commit to learning this life-saving skill and making a difference when it matters most.
Frequently Asked Questions
Hands-Only CPR is a method of CPR that involves only chest compressions without rescue breaths. It is recommended for use by bystanders who witness an adult suddenly collapse.
Use Hands-Only CPR if you see an adult suddenly collapse and they are unresponsive and not breathing normally. It can significantly increase their chances of survival until professional help arrives.
To perform Hands-Only CPR, place the heel of one hand in the center of the chest, place your other hand on top, and push hard and fast at a rate of 100-120 compressions per minute.

